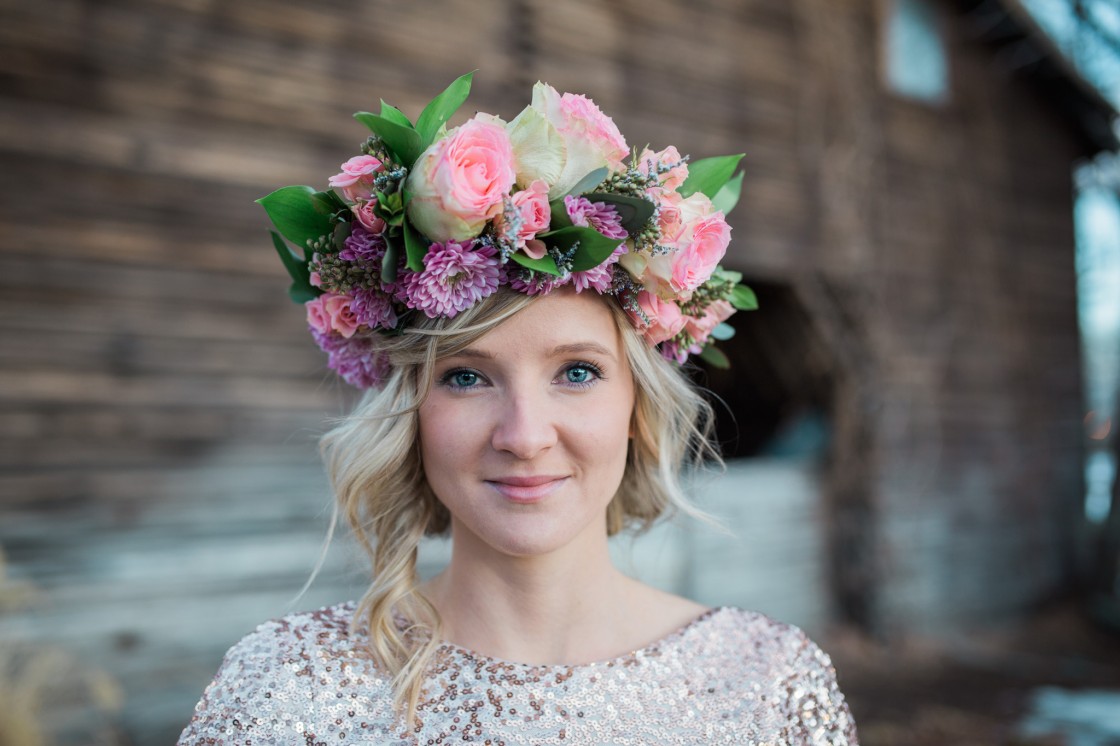
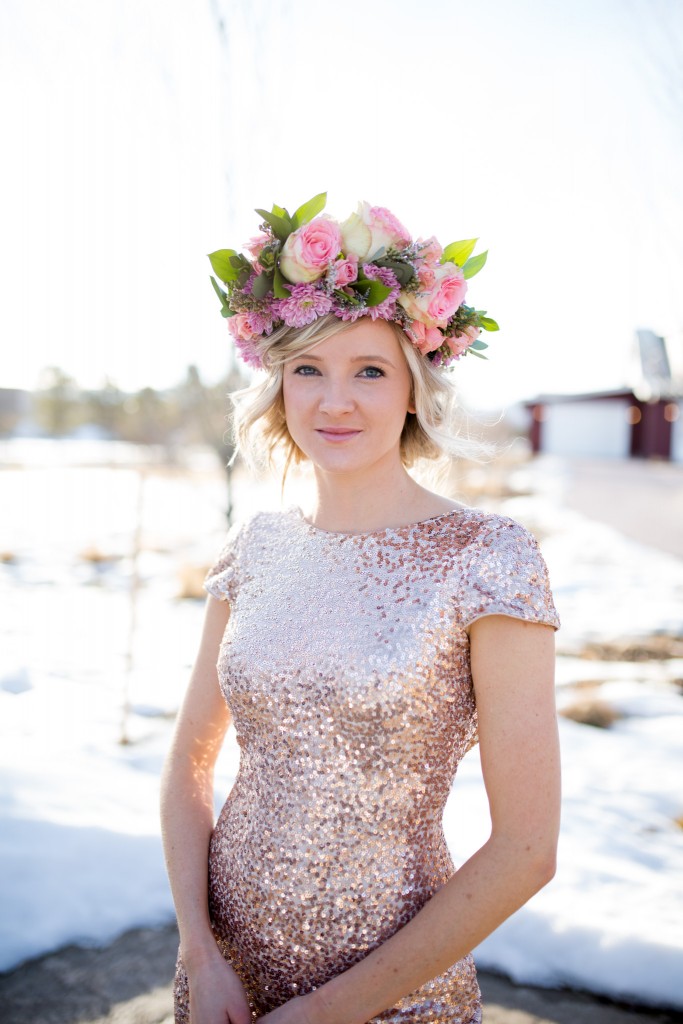
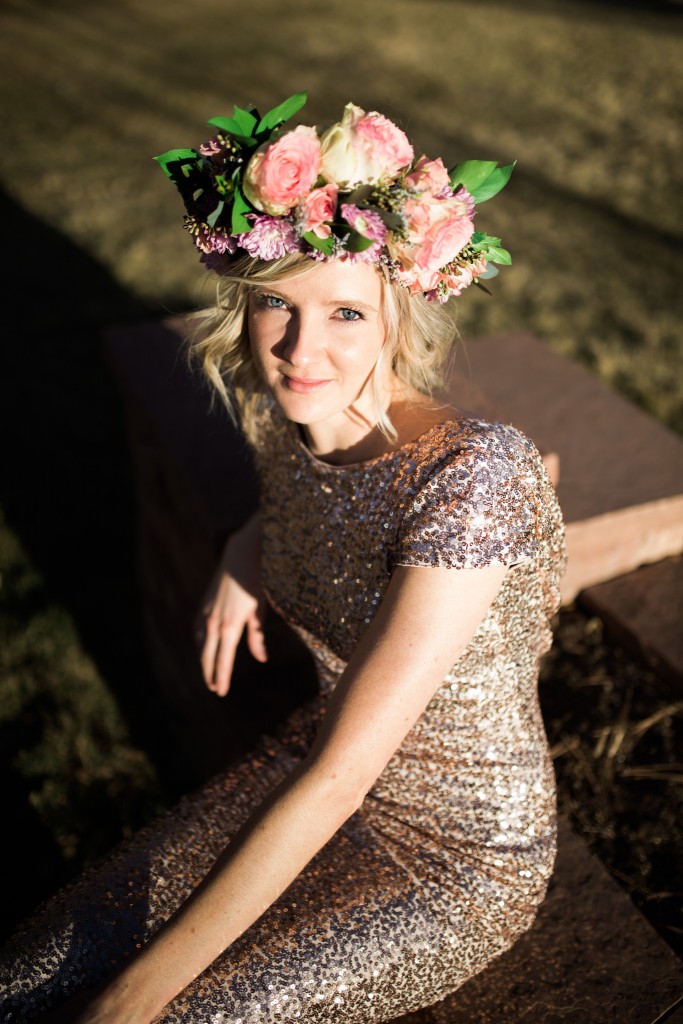
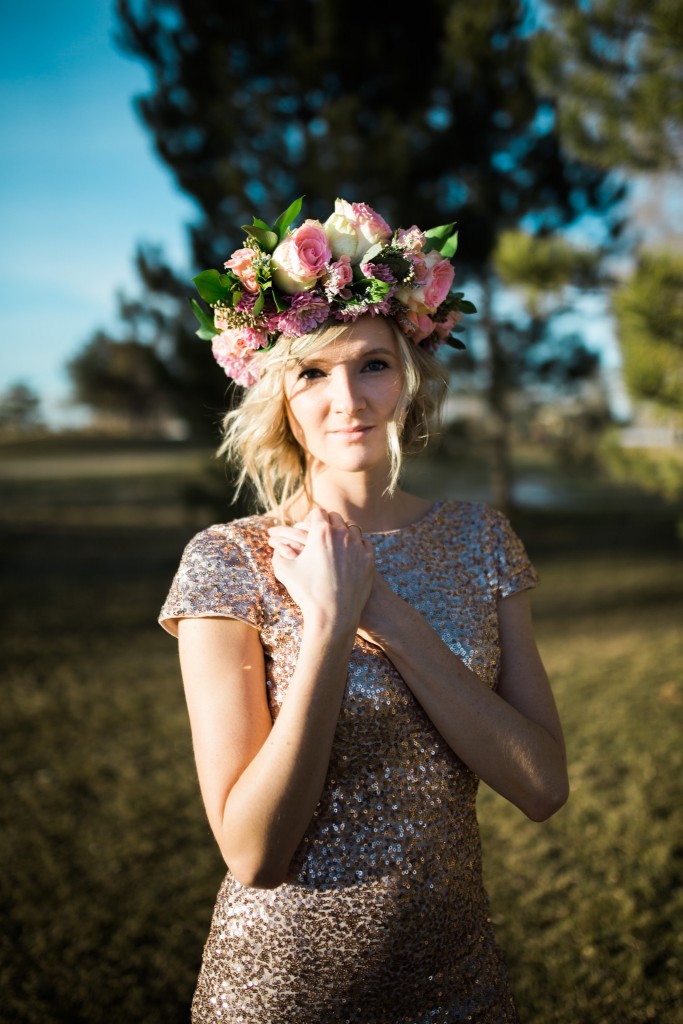
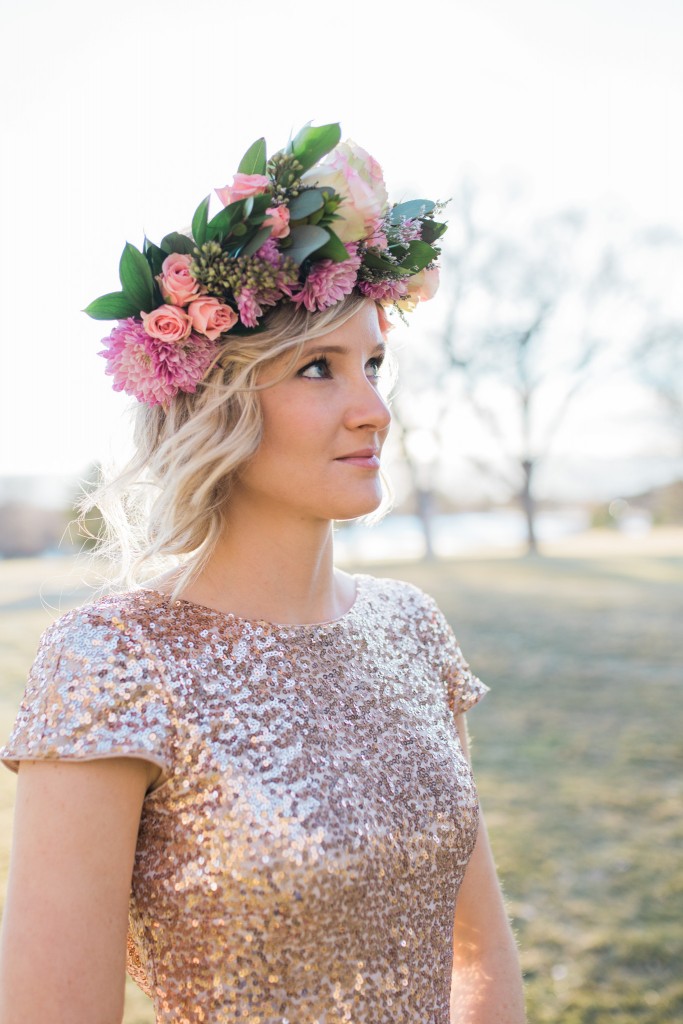
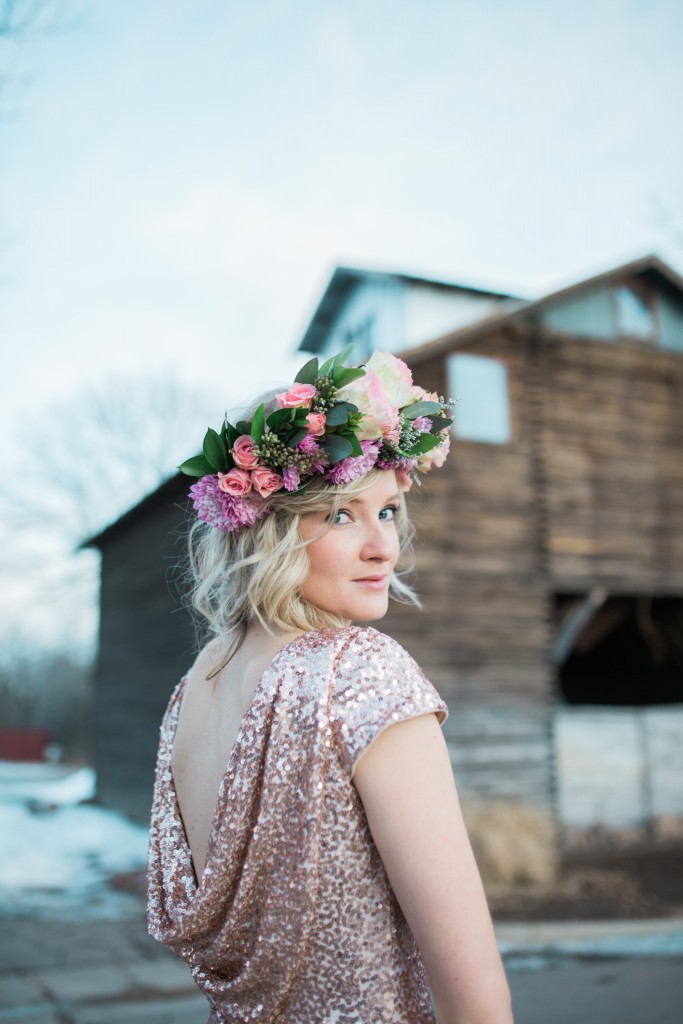
Okay… I’m not a florist, not even a little bit. Although I am not a florist, nor do I have any formal training, I love playing with floral arrangements! I have been playing with floral arrangements for as long as I remember. I would always beg my mom to buy stems rather than an arrangement for parties/Thanksgivings/etc, so I could play with the flowers. I decided to make a floral crown for a styled shoot I did a few months ago. I had a styled Littleton wedding shoot at The Barn at Raccoon Creek with a bride and groom. I already had traditional flowers in order from a local florist for my bride and groom, so with my second female model I wanted to do something fun.
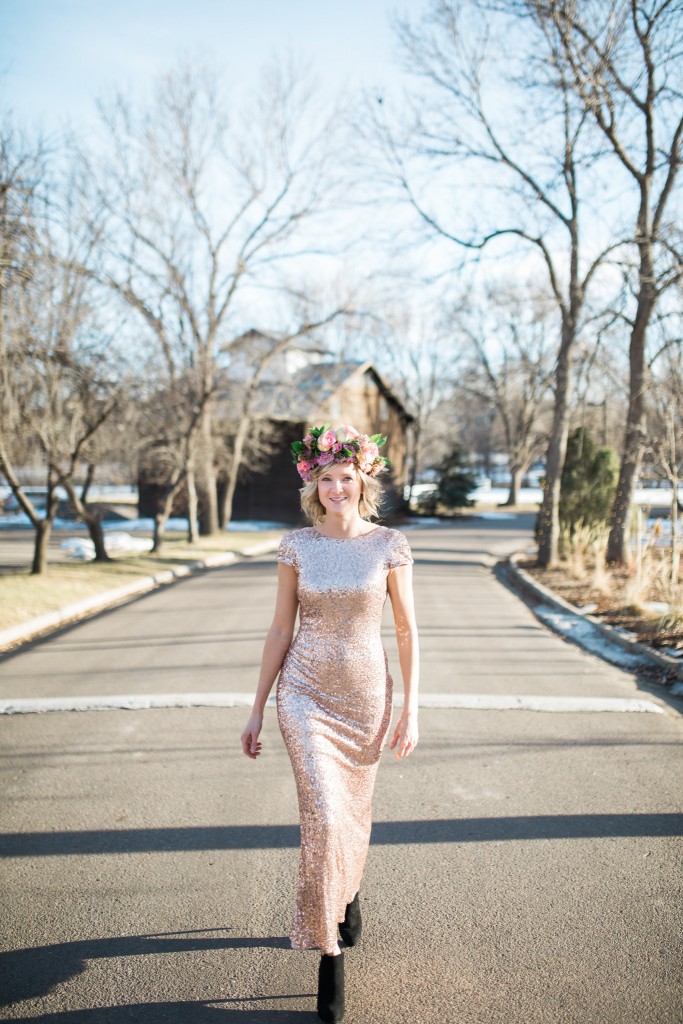
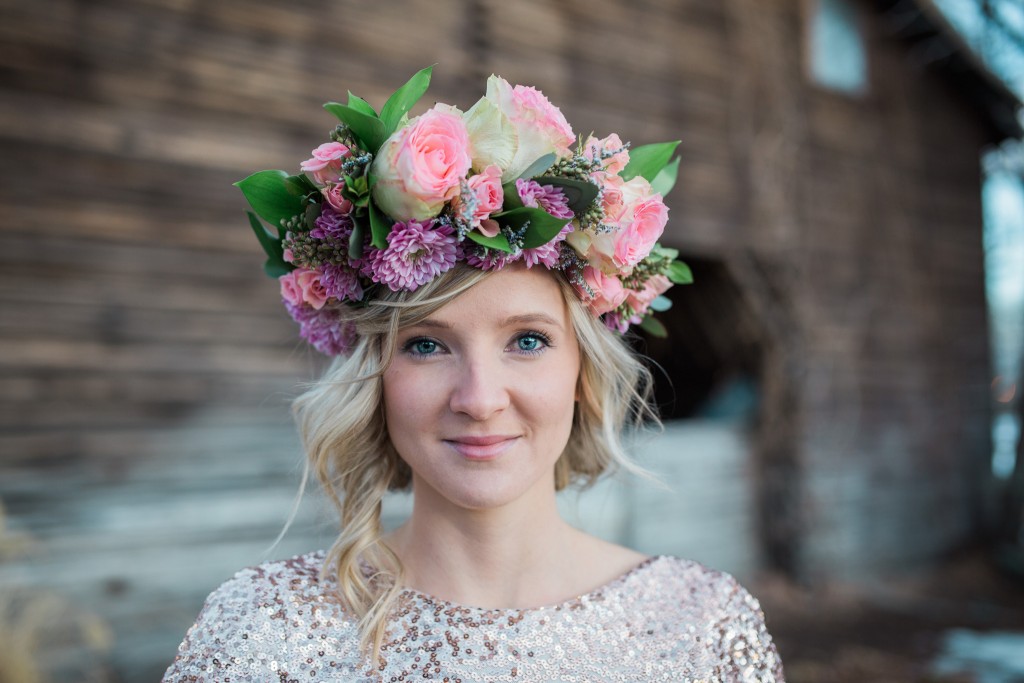
Suni was going to wear a gorgeous gold sequin Badgley Mischka dress and I wanted something fun for an accent. I love floral crowns, and I know they’ve been a little… okay a lot… overdone lately, but I still love them. I wanted it to be big and beautiful and slightly obnoxious in the best of ways. I received a few quotes for floral crowns, and it seemed the starting price to be around $150 for what I was looking for. Since this was for a styled shoot, and not a real wedding, I wanted to give it a go. I purchased the majority of the flowers at my local super market, and bought the large roses at a local floral shop because I really wanted them to be a wow factor. A quick trip to Joanne Fabric and I was ready to go.
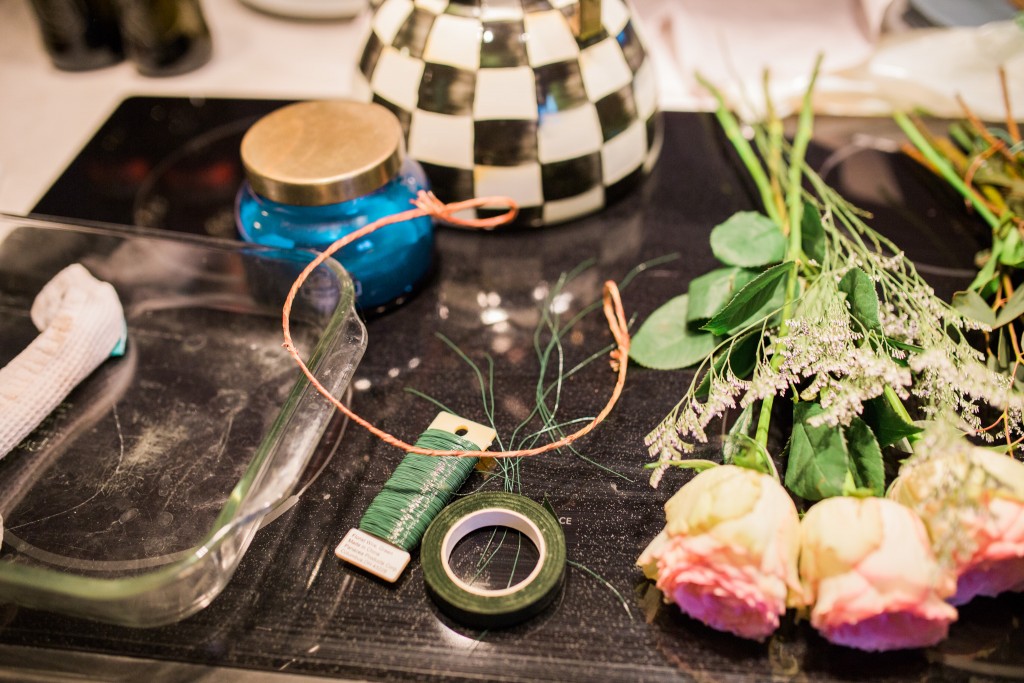
Shopping List: Flowers (lots of them) 🙂 greenery, florist wire, thick florist wire, and floral tape
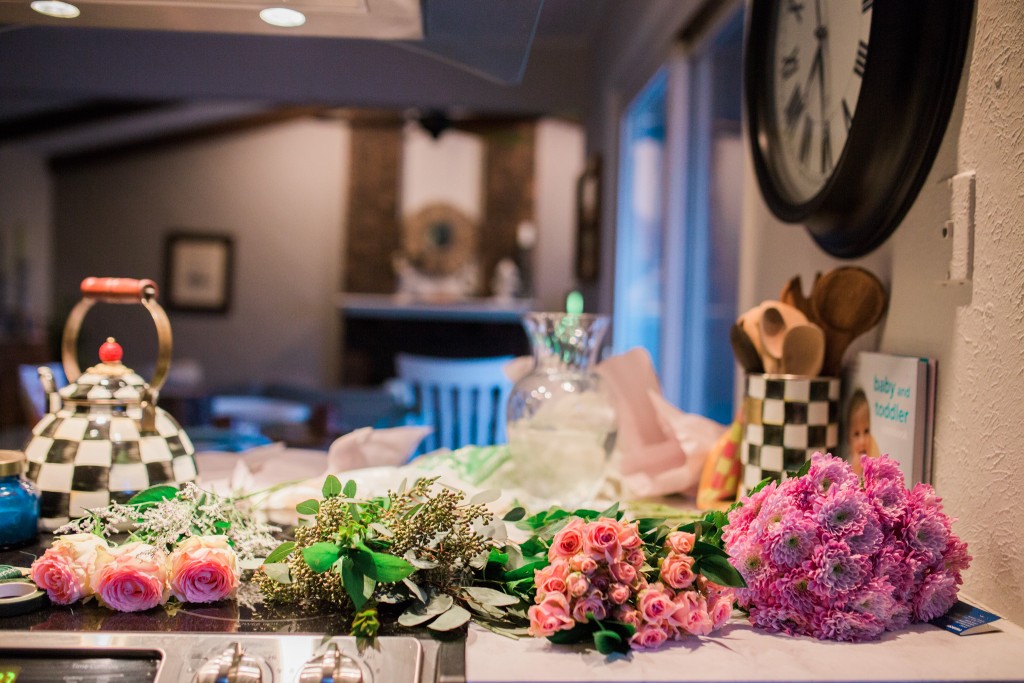
All of this cost approximately $40. The project took me an hour and was incredibly fun. I started by cutting the thick wire the size I wanted the crown. I cut about 20 inches accounting for an extra inch and a half on each end. On each end I made a little loop with the wire, which would allow a sting or wire to go through each loop and keep the floral crown on.
Next I cut the roses and wrapped them with wire and floral tape. I cut about a 2 1/2 inch stem and wrapped the wire (7 inches) around and around and then went over it with floral tape. The wire helps give the roses some flexibility without snapping the stem.
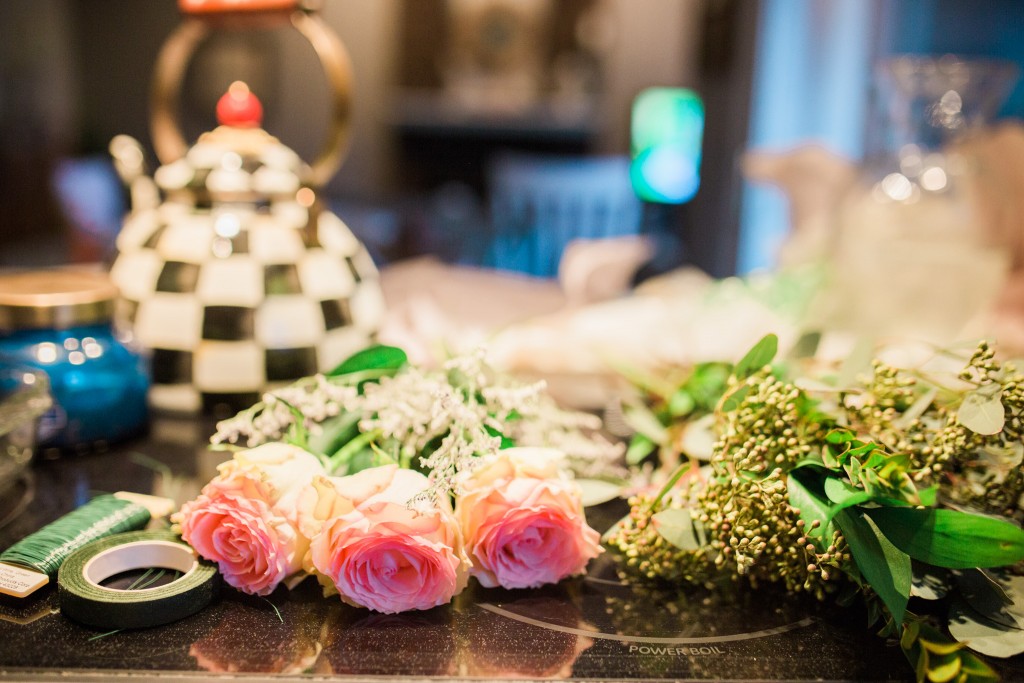
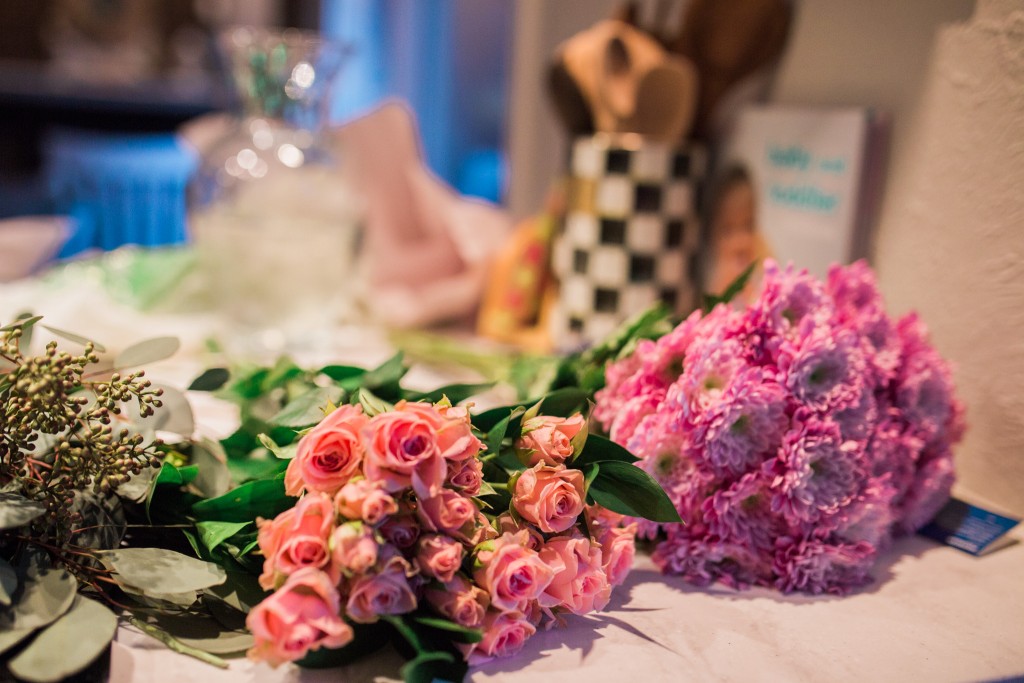
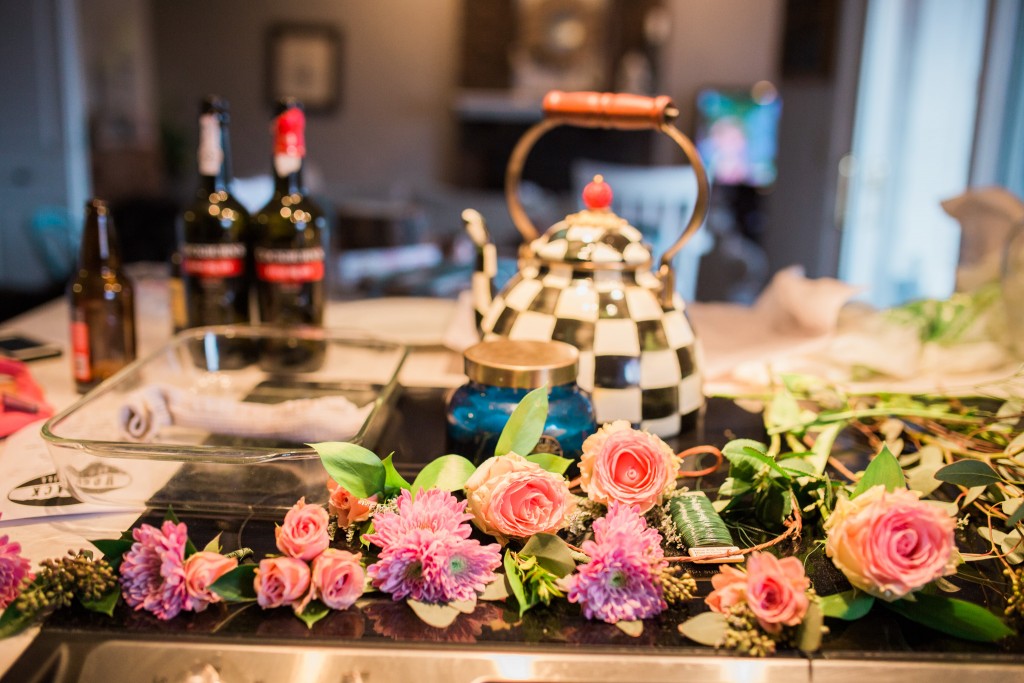
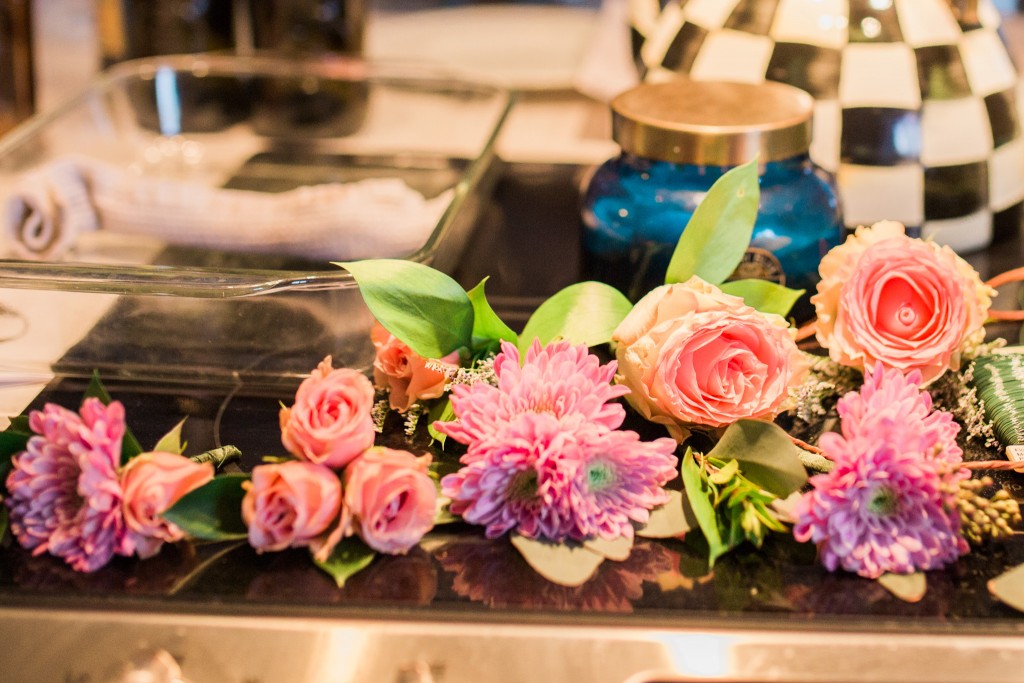
Next, I started making tons of mini floral arrangements. I made 15 mini arrangements and they were all different. Some I did one large rose, a few greens, and baby’s breath, others, three mini garden roses and leaves… just whatever looked good to me. Seriously so fun to try and not think about it and just let the creativity take over. When I had the small arrangement grouped together, I cut the stems to the same length (about 2 1/2 inches) and wrapped the grouping with a ton of floral tape. (about a foot each grouping) Once I had all my mini arrangements laid out I started attaching them to the thick wire crown. To attach, I used more floral tape (12 inches or so) to attach each grouping to the crown starting with the end of the crown with the blooms facing the loop and work all the way to the other side. I kept them all facing the same direction so it was easy to attach the next arrangement. I would positing them to try to make it around the same thickness all the way around and to look very full. That’s all!! So easy and fun!
Brick and Willow Photography | Denver Wedding Photographer | Family Photographer | Colorado Wedding Photographer | Littleton Wedding Photographer | www.brickandwillowphotography.com | facebook.com/brickandwillowphotography | Littleton Family Photographer | Breckenridge Photographer | Breckenridge Wedding Photographer | Mountain Wedding Photographer| Denver Engagement Photographer
